
A dripping faucet, a wobbly shelf, a faded wall: we often postpone these small projects due to a lack of clear method. However, home DIY projects do not require a professional workshop or a significant budget. What is often missing is a realistic action plan and some technical reflexes to avoid starting over three times.
Why classic DIY tutorials often lead to failure
We have all followed a video tutorial that seemed clear, only to get stuck at the second step. The problem rarely lies with the project itself. It comes from what the tutorial does not show: the preparation of the surface, the actual drying time, the intermediate tools that no one talks about.
Recommended read : Keys to Successfully Investing in Real Estate: Essential Tips and Tricks
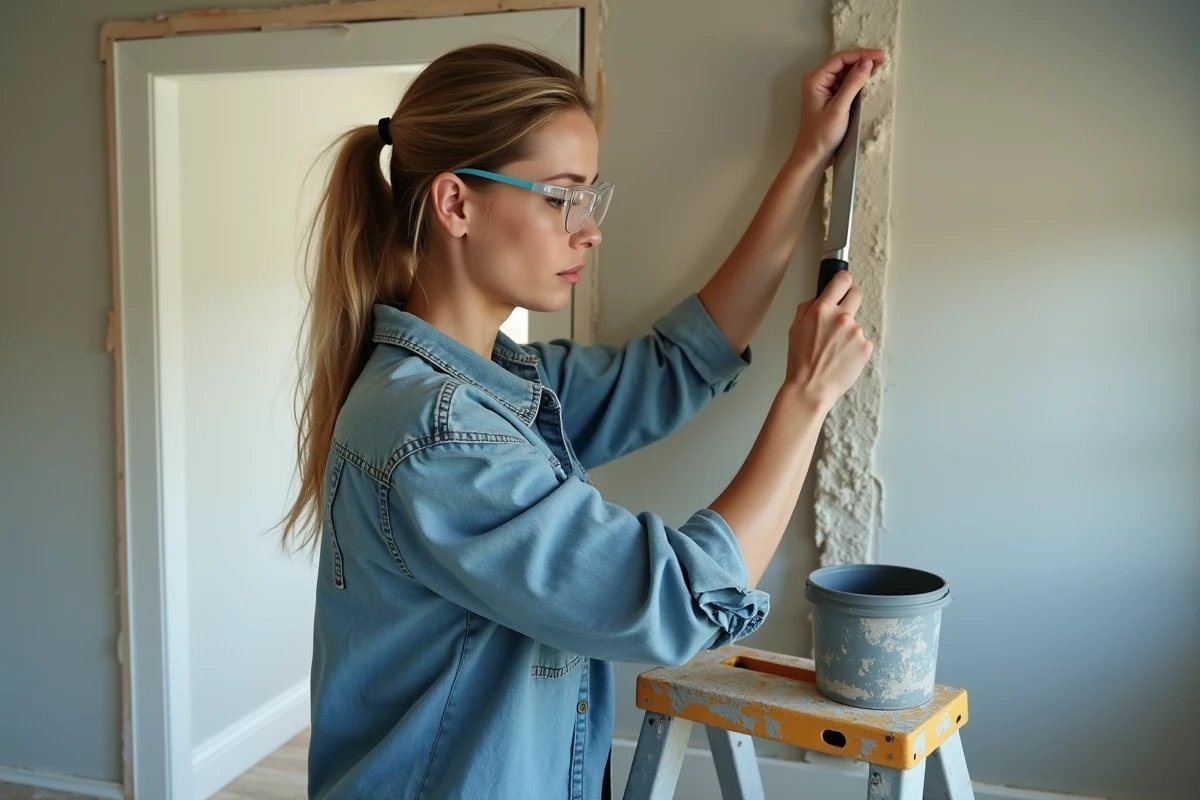
A common example: painting a wooden piece of furniture. Most guides jump straight to painting. In practice, without sanding or an appropriate primer, the paint will peel within a few weeks. We waste time, money, and especially motivation for the next project.
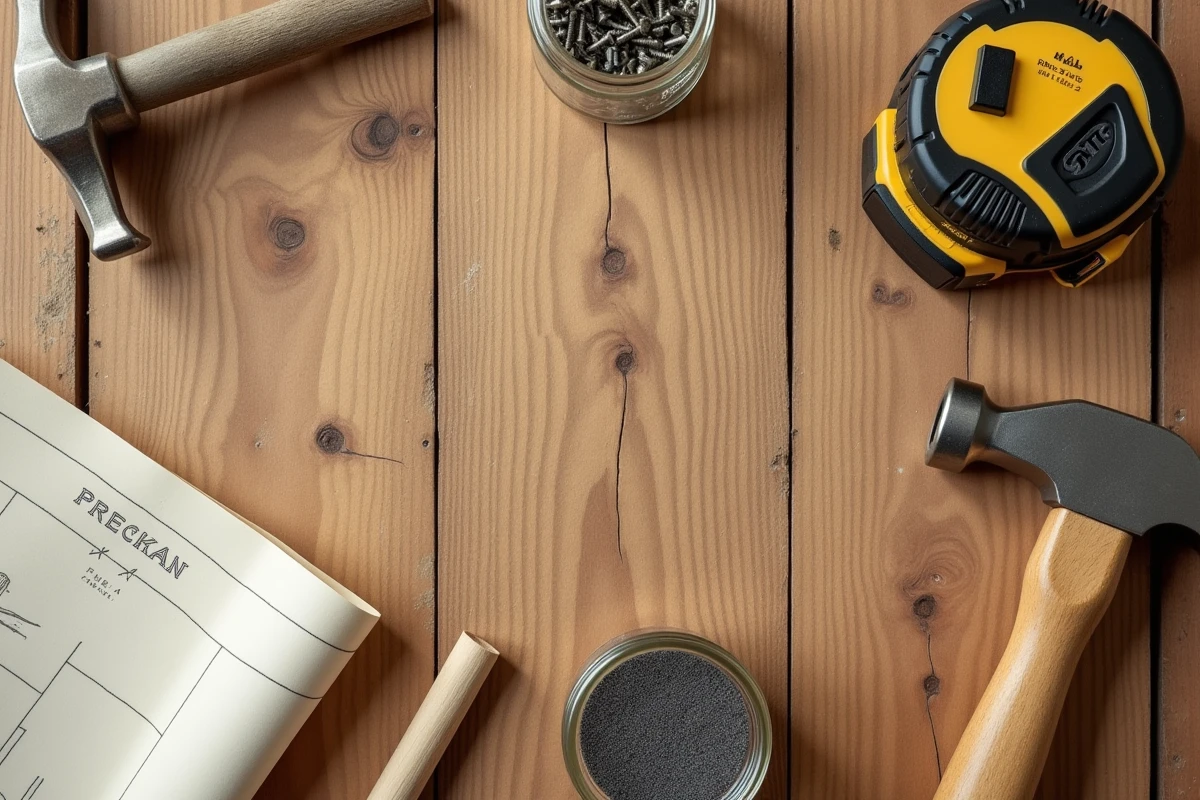
The other trap is a too-short materials list. A tutorial that states “you need a screwdriver and screws” often forgets the stud finder, the appropriate wall plugs, or the level. We end up making three trips to the store. To find guides that really detail each step with the complete materials, we can explore the practical sheets on quartierbricole.be, which structure projects by difficulty level.
Read also : How to Identify and Understand Snake Droppings in Your Garden
Before starting a project, even a small one, we save time by listing each tool and supply on paper. Not on a corner of the phone: on a real list that we check off as we go.
Preparing your workspace before touching a tool
Preparation often represents half of the work. We don’t talk about it enough because it’s not spectacular, but it’s what separates a clean result from a rough DIY job.
Clearing and protecting the area
Before drilling, sanding, or painting, we move the furniture and protect the floor. A painter’s tarp secured with masking tape prevents splashes on the tiles or hardwood. For interior decoration as well as renovation, protecting takes ten minutes, while fixing the damage takes sixty.
Sorting tools by phase
We only take out what is needed for the first phase of the project. A cluttered workspace slows us down and causes mistakes. If the project has several phases (sanding, primer, painting, finishing), we prepare a bin or tray for each phase.
- Phase 1: sandpaper, sanding block, damp cloth for dusting
- Phase 2: primer, foam roller, brush for corners
- Phase 3: finishing paint, tray, roller suitable for the surface (lacquer for wood, lambswool for walls)
- Phase 4: varnish or protective wax if the furniture is exposed to wear
This phase breakdown prevents mixing dirty tools with clean materials, a classic mistake that ruins finishes.
DIY techniques that make a difference in the final result
We can use the best tools on the market: without the right techniques, the result remains amateurish. A few simple reflexes can radically change the quality of a project.
Painting a wall without visible marks
The secret is not in the paint, but in the roller’s load. We dip it, roll it on the tray’s grid, then apply in crossed passes: first vertically, then horizontally, without pressing. An overloaded roller creates drips, while a dry roller leaves gaps.
We always work in areas of about one square meter, connecting each area to the previous one while the paint is still wet. If we let an edge dry before connecting, the demarcation will remain visible once dry.
Securing a shelf that really holds
Most falling shelves have been installed without considering the type of wall. Drywall, hollow brick, concrete: each surface requires a specific anchor. A Molly anchor for drywall, an expansion anchor for concrete. Using the wrong one guarantees that the whole thing will end up on the floor in a few months.
Drilling to the right depth is as crucial as choosing the right anchor. We mark the depth on the drill bit with a piece of tape. Too shallow, the anchor sticks out. Too deep, it won’t grip.
Creative ideas with reclaimed materials
The most satisfying projects are not necessarily the most expensive. Working with pallet wood, glass jars, or fabric scraps pushes us to find solutions we wouldn’t have imagined with new materials.
A disassembled pallet provides raw boards that can be transformed into a planter for the balcony, a headboard, or a wall shelf. Pallet wood has a particularity: it is often dry and hard, making it more difficult to screw but very strong once assembled. We always pre-drill to avoid splitting.
For projects with children, cardboard tubes and glass jars offer a solid base. A repainted jam jar becomes a candle holder, a pencil holder, or a mini-terrarium for succulents. Reclaiming materials teaches us to work with the constraints of the material, which develops useful reflexes for more ambitious projects.
- Wooden crates transformed into wall storage for the entryway or laundry room
- Glass jars converted into hanging lights with a simple socket kit
- Fabric scraps sewn into cushions or pot covers for garden decoration
When the project exceeds your skills: knowing when to stop
Not everything can be DIYed. Electrical work, built-in plumbing, working at height on roofs: these areas require specific skills and qualifications. Opinions vary on this point, but the rule remains simple: if a mistake could create a danger (short circuit, leak in a load-bearing wall), we call in a professional.
For common renovations (painting, small furniture, decoration, shelf installation), the margin for error is acceptable. We learn by doing, we correct, we progress. DIY at home works better as a regular practice than as a one-off exploit. Each completed project gives the reflexes and confidence to tackle the next one.